Subwoofers are an excellent way to increase the sound quality of your car. While perfect for bumping the bass and singing along to your favorite tunes, you may notice some concerning sounds caused by your subwoofers. So, how do you stop your subwoofers from rattling your car?
Read on for a thorough look at the steps, plus some additional guides and products that will help solve your problem.
1. Lower Bass With an Equalizer
Lowering your equalizer’s bass is the most straightforward way to stop your subs from rattling your car.
Modern equalizers allow control over specific frequency ranges in your speakers. Most equalizers offer balance to treble, mid-range, and bass.
Bass refers to the lower tones of music, such as notes from a bass guitar or the thump of a hip-hop beat. Subwoofers are dedicated to amplifying these sounds. More often than not, these notes cause the rattling in your car.
By lowering the bass, your car speakers should rattle far less. While a lowered bass won’t directly address the source of your car’s rattling, it should dampen the problem in the short term.
If your car doesn’t have a built-in equalizer, check out the Clarion EQS755 7-Band Car Audio Graphic Equalizer from Amazon. This unit goes between the amplifier and the head unit to let you fine tune your music.
2. Tighten Your Subwoofer’s Screws
Your subwoofer itself could be the source of your car’s rattling. Like other parts of your vehicle, your subwoofer’s screws can become loose.
Play some music while paying close attention to the movement of your subwoofers. If they’re indeed rattling, it’s time to tighten their screws.
Make sure to screw tight enough to avoid leaks, but not so much as to bend your sub’s frame or strip its screw holes.
3. Replace a Blown Subwoofer
A blown subwoofer may also cause your car’s rattling. You might blow your subwoofer by blasting loud music or aggressive sounds.
To check for a blown subwoofer, listen for diminished audio quality. A damaged subwoofer may cause cracks, pops, and static in its sound output.
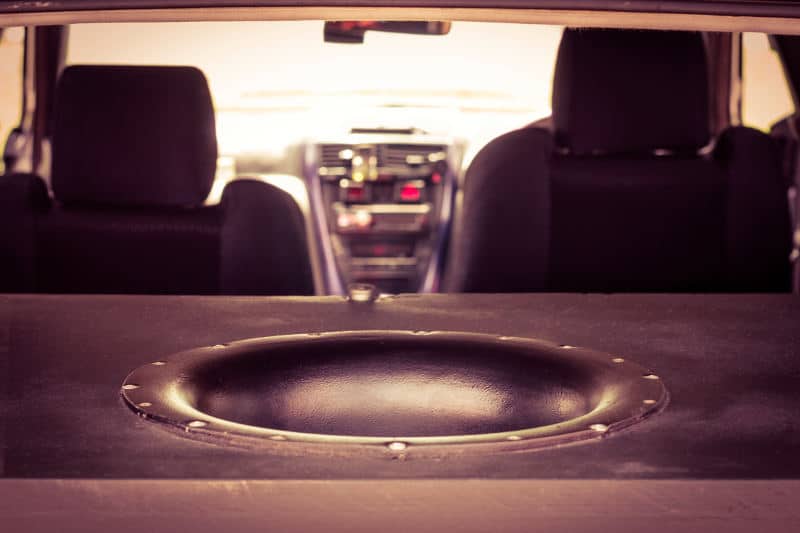
If you suspect a broken subwoofer, check its speaker cone, the circular part of the speaker.
If the cone is rigid or immovable, you’ve blown your subwoofer. You should also check for small rips, tears, or holes.
You’ll need to remove your speaker to fix a subwoofer yourself. Standard craft glue is all you need to fix most small tears, while part replacement may require a soldering iron. Check out this guide from for a more detailed look at how to replace a broken subwoofer.
4. Remove Loose Items
If your subwoofer isn’t the problem, it’s time to start checking the car itself. Your car’s interior is the best place to begin your search. Most interior solutions are more accessible to fix than exterior ones. To start your search, play some music at the level which it usually causes rattling. Then, dive in.
Loose items in your car may be the source of those rattling sounds.
Make sure to check the most straightforward spots first. For example, something as simple as loose change in a cup holder could cause your car’s rattling.
Loose items may also cause rattling in your side pockets, console, trunk, or glove compartment.
I also recommend examining your spare tire and jack. Tires can both become loose themselves or hide items within.
5. Search for Loose Parts
Loose interior parts may also cause rattling. Watch your glove compartment, console, and cup holders for rattling themselves after you check the inside of them.
I recommend checking for loose interior parts before exterior parts because most interior features are simpler to fix. Internal parts tend to be for cosmetics or convenience rather than function. Thus, they’re less dangerous to tinker on.
Additionally, many interior parts are fixable via household solutions. For example, you could install extra padding around your cupholders to limit movement.
That said, if you’re aiming for more significant repairs to interior parts, consider taking your car to a mechanic.
6. Watch for Your License Plate
Before moving on to more major exterior parts, I advise you to check your license plate. With its metal composition, a loose license plate can cause quite a stir if rattled.
It’ll be pretty straightforward to tell if your license plate is rattling once you play music from your car’s speakers. Play music, step outside of your vehicle and watch.
If your plate vibrates or you hear metallic bumps from the back of your vehicle, your license plate is the most likely culprit.
It’s easy to secure your license plate. You can simply use high-intensity foam tape to cover all four sides of your license plate. Then, poke holes in the tape to resecure the plate to the vehicle.
7. Check Your Exterior for Loose Parts
Once you’ve determined that your interior and license plate aren’t rattling, it’s time to check your vehicle’s exterior.
Your vehicle’s exterior has a lot more to look into than its interior, and could have structural damages that enhance the rattling noises.
Most of the time, when analyzing your vehicle’s exterior, you should check the following areas:
- Underneath the vehicle
- Inside the wheel wells
- Under your car’s hood
Additionally, you should tread carefully when attempting to fix any of these parts. They’re far more essential to your car’s functioning than the ones I’ve already mentioned. If you suspect rattling from an exterior part, consider calling a mechanic.
Loose Trunk Latch
One exterior part you should also check is the trunk latch.
With its massive size and metallic make, a trunk can rattle quite a bit should it be loose. If your trunk won’t open or gets stuck closed, you might need to repair your trunk latch.
I’ve separated the trunk latch from other exterior parts because it’s a lot easier to fix. To fix a loose trunk latch:
- Locate your trunk latch and latch striker.
- Check both components for wear.
- Loosen the latch’s screws.
- Slide the latch to its original place.
- Retighten screws.
8. Soundproof Your Car
If the problem still persists after checking the subwoofers and the rest of your car for rattling parts, consider taking steps to soundproof your vehicle.
If an exterior part is the source of your rattling, then the very reason your car rattles in the first place is that sound escapes it. A soundproofed car will keep that sound in rather than letting it out.
You can soundproof your car in three main steps:
- Install sound deadening material on your vehicle floor.
- Insulate your car doors.
- Change your car tires for quieter ones.
I’d recommend the first two steps to reduce rattling caused by subwoofers. Either one directly addresses leaked interior car sound.
Not only will a soundproofed car lessen rattling, but it also dampens the sound of road noise. With less road noise, you’ll need less volume to hear your music, and you’ll be less at risk for rattling.
You can check out sound deadeners such as the KILMAT Car Sound Deadening Mat. These sheets are made of sound dampening material that doesn’t add much weight to your vehicle and gives you near-perfect insulation. Plus, there’s an indicator to make installation easier.
Additionally, check out this guide for a more thorough look at sound deadener installation.
9. Modify or Install an Amplifier
An unfit amplifier can also cause subwoofer-related issues.
If your car has subwoofers, it likely already has an amplifier as well. For the best sound, however, your amplifier needs to match your subs.
Find an amplifier that will match your sub system’s total RMS rating at a wireable impedance load. You can check out this guide for a closer look at why and how you can match your subs and amps. The guide is excellent to double-check your set-up if you installed your sound system yourself.
10. Visit a Mechanic
Finally, if none of these tricks seem to fix the rattling, it’s time to pay a visit to your mechanic.
A mechanic can quickly determine the cause of your rattling and know exactly how serious the problem is.
As mentioned above, some essential parts of your car may cause rattling. Even if you stop them from rattling, alterations to these parts could damage your vehicle down the road.
Unless you’ve got experience, leave these instances to the mechanic.
Conclusion
If you follow these steps, you’ll stop your subwoofers from rattling your car in no time. Remember to only tinker with as much as you’re comfortable with, and good luck!
RELATED POSTS:
- Best Cheap Car Speakers On the Market
- Speakers Making Noise When the Car Is Off
- Best Sound Deadening Materials
By