Have the headlights on your car become foggy, and try as you might, you can’t seem to wash them properly? Or are you having problems with constant condensation and water puddles forming inside your headlamps? If so, you are not alone in your troubles. Many people wonder how to clean dirt and condensation from inside of headlights.
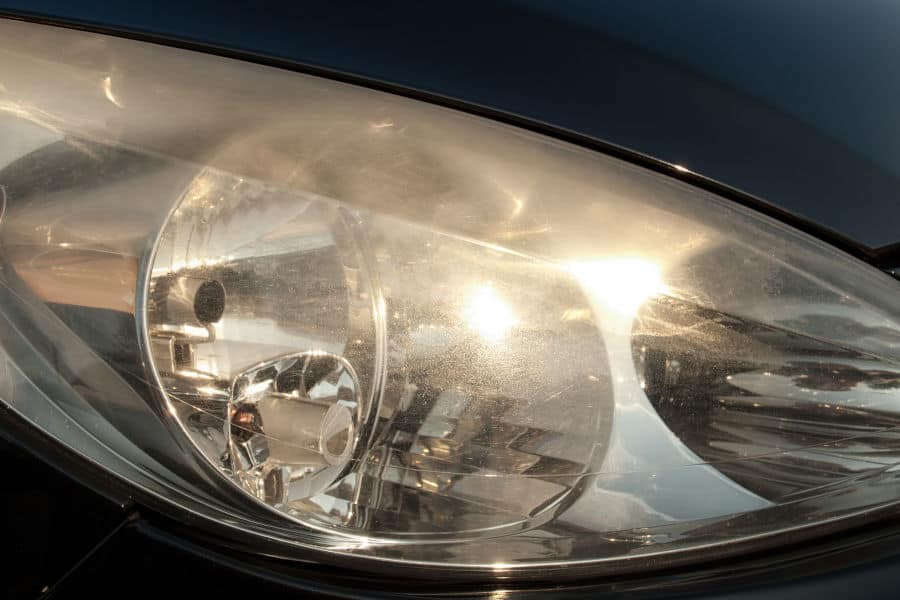
Hazy headlights are a frequent problem for drivers everywhere. They are not only unsightly but also a safety concern. Dirty headlamps decrease your night vision, making you prone to missing bumps, small animals, or other objects on the road.
They also prevent other drivers from seeing you clearly or in time, especially during bad weather. Not to mention that blurry headlights can cause your vehicle to fail the inspection. So regardless of whether there is excessive dust buildup or condensed moisture on the inside of your lenses, it can seriously put your safety at risk.
In case you are looking for a way to tackle one of those problems, you are in luck! Whichever of those issues has befallen you, I’ve got the tips on what to do about it.
What Causes Water and Dirt Buildup Inside of Headlights?
Headlights get dirty all the time. Usually, the dust and mud buildup on their outside can easily be washed off. Even if the dirt proves hard to remove, there are many options for taking it off successfully. There are many household solutions with rubbing alcohol, vinegar, or toothpaste to help you break the filth down.
But what if cleaning the outside of headlights isn’t cutting it anymore? In that case, it’s the inside that is covered in dust or water particles. That can happen due to several factors.
Most likely, gravel on the road has taken a toll on your headlights. They take quite a beating from road debris that damages and ultimately destroys their protective coating. Over time, the lenses become scratched or sustain microfractures, which allows dirt and water to get inside the headlights.
Another reason may be that road dust and moisture enter through the vents located at the rear of the headlights. Their function is to allow air to get inside and out of the headlamps to equalize their temperature with that of the environment. In the process, water vapor and dirt particles may get sucked in as well.
At this point, you may be thinking that you’ll have to break the bank and get your headlights professionally restored or even replaced. Luckily, that isn’t so because I know just the thing that will do the trick!
How to Clean the Inside of Headlights: Step-by-Step
When the inside of headlights becomes dirty, people assume they would have to disassemble them to clean the lenses properly. Although that is effective, it is also risky as you would have to break the watertight seal that holds the lens in place. In the end, you may not be able to reseal it properly when you try to put everything back together. That would cause your headlight to let in even more water and dirt and eventually malfunction. You would end up seeking help from a professional, and that is never cheap.
Fortunately, you can efficiently clean the inside of headlights without taking them apart:
1. Make a Magnetic Sponge or Cloth
Since you will be cleaning the inside of the headlight without taking it apart, the first thing you’ll need to do is make a magnetic cleaning tool. It needs to be small enough to get inside the casing and its every corner and soft enough not to damage the lens or the reflective headlight surface.
To that end, opt for a clean piece of cotton fabric, like an old T-shirt, or a small non-abrasive sponge. First, cut the fabric into a rectangular shape, approximately the size of your palm, using scissors or a knife. If you choose a sponge, cut it so that it is slightly larger than the magnets you have. You should also cut a pocket inside the little sponge slice.
Next, place one magnet inside the pocket you’ve made in the sponge. Alternatively, put the magnet in the middle of the cotton cloth and wrap it whole. You can repeat the process with the other magnet or simply wrap it in some paper towel. That will prevent it from scratching the lens later on.
Now, all that’s left to do is to stitch the cloth or the sponge pocket with some needle and thread to stop the magnet from falling out. You can also use hot glue for this, but make sure you wait long enough for it to dry completely before you clean the headlight.
2. Take the Headlight Out
This step will depend on the make and model of your car. Most of the time, all you need to do to take the headlight out is to lift the hood and take out a couple of screws or some plugs. But other vehicles may require the bumper to be taken off first or something entirely different. That is why the safest way to go about it is to refer to your owner’s manual to avoid damaging a part of your car.
After you’ve taken the headlamp out, place it on a dry towel to keep it safe. Carefully remove the lamp. Make sure to hold it at the base and not to touch the glass bulb itself, as it is very sensitive. If it gets into contact with your skin, the oils from your skin may shorten its lifespan. It may also overheat and explode when you start using it again.
3. Insert the Hand-Made Cleaning Tool
For this step, you will need either a tiny grabber tool or a magnetic pick-up tool. Use whichever one you have to take the magnetic sponge or cloth through the lamp opening and place it against the inner side of the lens. Remember to hold it there until you place the other magnet on the outer side of the lens. Failing to do so will cause the magnet inside the headlight to attach to the closest metal part and possibly damage it. Once the magnets draw to each other, you can take the picker out.
4. Clean the Lens
Now it’s time to clean the lens. Move the outer magnet back and forth, and it will pull the inner magnet in the same direction. Since both magnets are wrapped in soft, gentle materials, there will be no damage to the lens. You will also be able to see the results instantly and to keep track of which parts are still dirty.
If the dirt is quite persistent, you may need to dip the sponge into some cleaning agent. I advise you to put on some gloves to protect your skin from the chemicals. Also, make sure you test the product on a small portion of the lens first to check whether there will be any adverse reaction to it. I recommend wetting it with rubbing alcohol as it leaves no residue and is also antibacterial. It is excellent for cleaning all car surfaces, including the dashboard and the windows.
5. Put the Headlight Back in Place
Now that your headlamp is spotless again, carefully return the bulb in its socket and place the headlight back on the car. Make sure you affix all the screws or plugs you undid in the beginning, and you are good to go!
List of Tools Needed
Here are all the tools you’ll need for cleaning:
- A non-abrasive sponge or a cotton cloth
- A pair of strong magnets
- A pair of scissors or a knife
- Needle and thread or hot glue
- Your owner’s manual
- A screwdriver
- A dry towel
- Rubbing alcohol or another cleaning agent
- A grabber and/or a magnetic pick-up tool
- A pair of gloves
Final Thoughts
Foggy lenses can dim the light that headlamps cast on the road, decreasing your vision and how well others can see you. If you follow my tips and clean them from the inside yourself, you will avoid spending loads of money at the mechanic. You will not only stop exposing yourself to danger, but your car will also look fantastic.
Headlights that have been restored to mint condition give your car a facelift and leave it looking brand new.
If you want more tips on how to clean your car, the first thing you’ll need is a good-quality towel. So make sure you read a piece I wrote about that and move on from there. And don’t forget to drive safely!
RELATED POSTS:
- How to Clean Corroded Light Bulb Sockets
- How to Clean the Inside of a Windshield
- How to Get Rid of Mold in Your Car
By